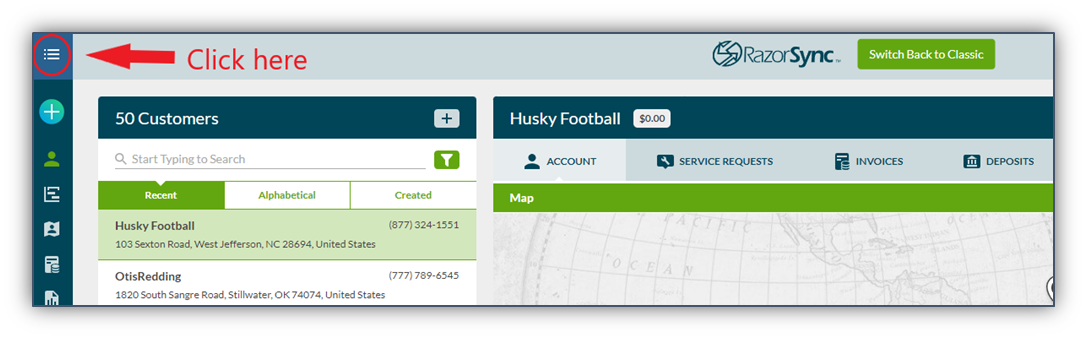
1. Select the Menu Bar on the left-hand side of the screen
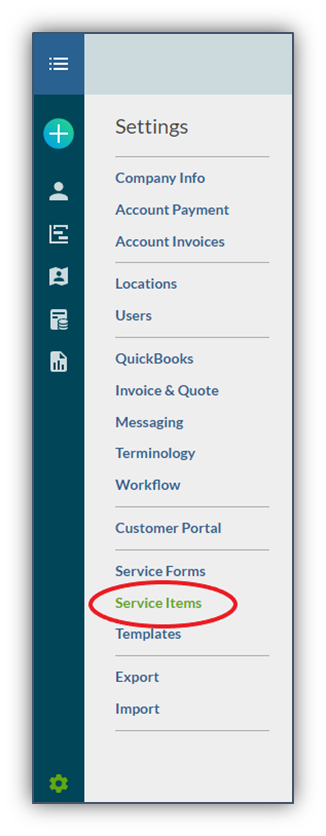
3. Select Service Items from the gray toolbar on the left-hand side.
4. When you click “Service Items” from the left-hand side, a page will open where you can add “Categories” for service items; you will also be able to manually enter individual service items, or you can import service items from an existing spreadsheet. If you need help Importing check out this article: Import into RazorSync
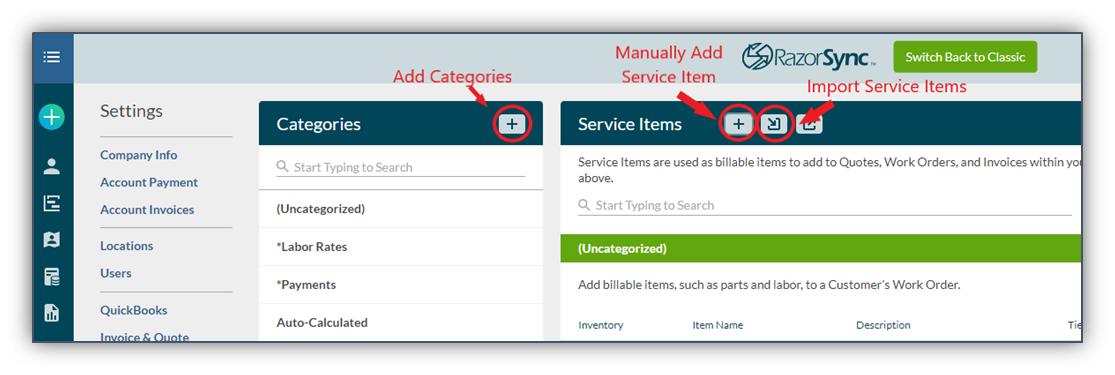
5. To manually add a service item, select the plus sign next to “Service Items”. 
6. Enter the name and price of the service item.
7. Next to “Unit Type” select either “hour” or “item”. (Select “hour” if the service item is a time-based charge. Select “item” if you are charging by the quantity of the item).
8. Select the Category for which this item belongs.
9. Enter a Service Item Description, if desired.
10. Select Taxable if tax should be applied to this item.
11. Select Default if this item will automatically be applied to all work orders.
12. Active will be selected by default.(Items won’t be made available to add to work orders unless “Active” is selected.)
13. Inventoried will be an available option if “Inventory Management” is turned on under “Add-Ons”.
(This option is included in both the Pro and Enterprise Packages, and is an available Add-On for all other packages).
14. Select ADD after the required information as been entered.